
7 Ways to Take a Screenshot on Windows 10
No matter if you are business user our use computer for fun and surfing, you probably needed screen capture many times. This article shows how to screenshot on Windows using built-in features like print screen (PrtScr) and other Windows solutions, as Snipping Tools, and some popular third-party apps like Lightshot. Use the advice below for Windows version, 10, 8/7, Vista, and older.How to Print Screen Using PrtScr Button?
The easiest way to take a screenshot on Windows is to use the built-in feature – PrtScr button. The button is located on the right side of the keyboard, depending on if you have a numeric section or use a PC or laptop keyboard. Sometimes button can have a different designation, like “Print Scr,” “PrtScn,” or “PrntScrn.” NOTE: This method works for all Windows versions, but you can only take a shot of the whole screen. If you need to screenshot just part of the screen (cropped) proceed to other methods.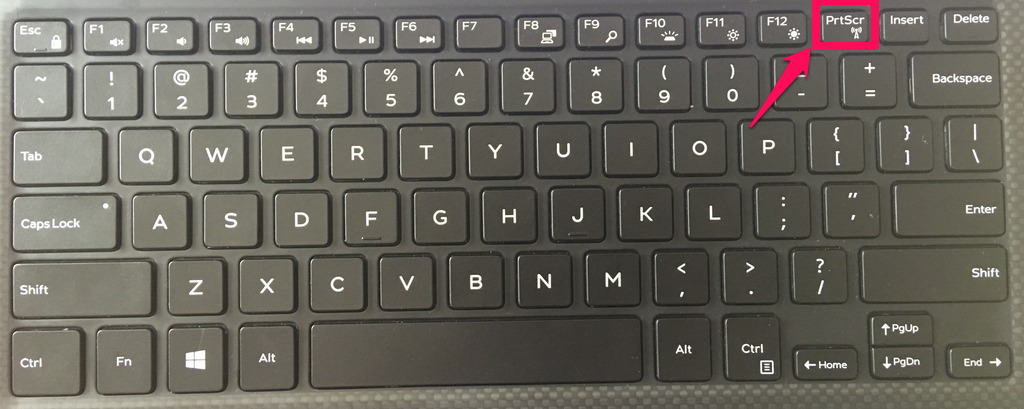
Some users get confused because nothing seems to happen when they press the button, and they can’t find the print screen in the operating system. But every time you press PrtScr, Windows saves a screenshot in your clipboard. Now, it’s up to you how or will you use it.
You have two options when taking a screenshot using the PrtScr button.
First is to save the screenshot as a file, and the second is to copy screenshot and paste to Paint or other photo editor and save (or modify and then save) from there.
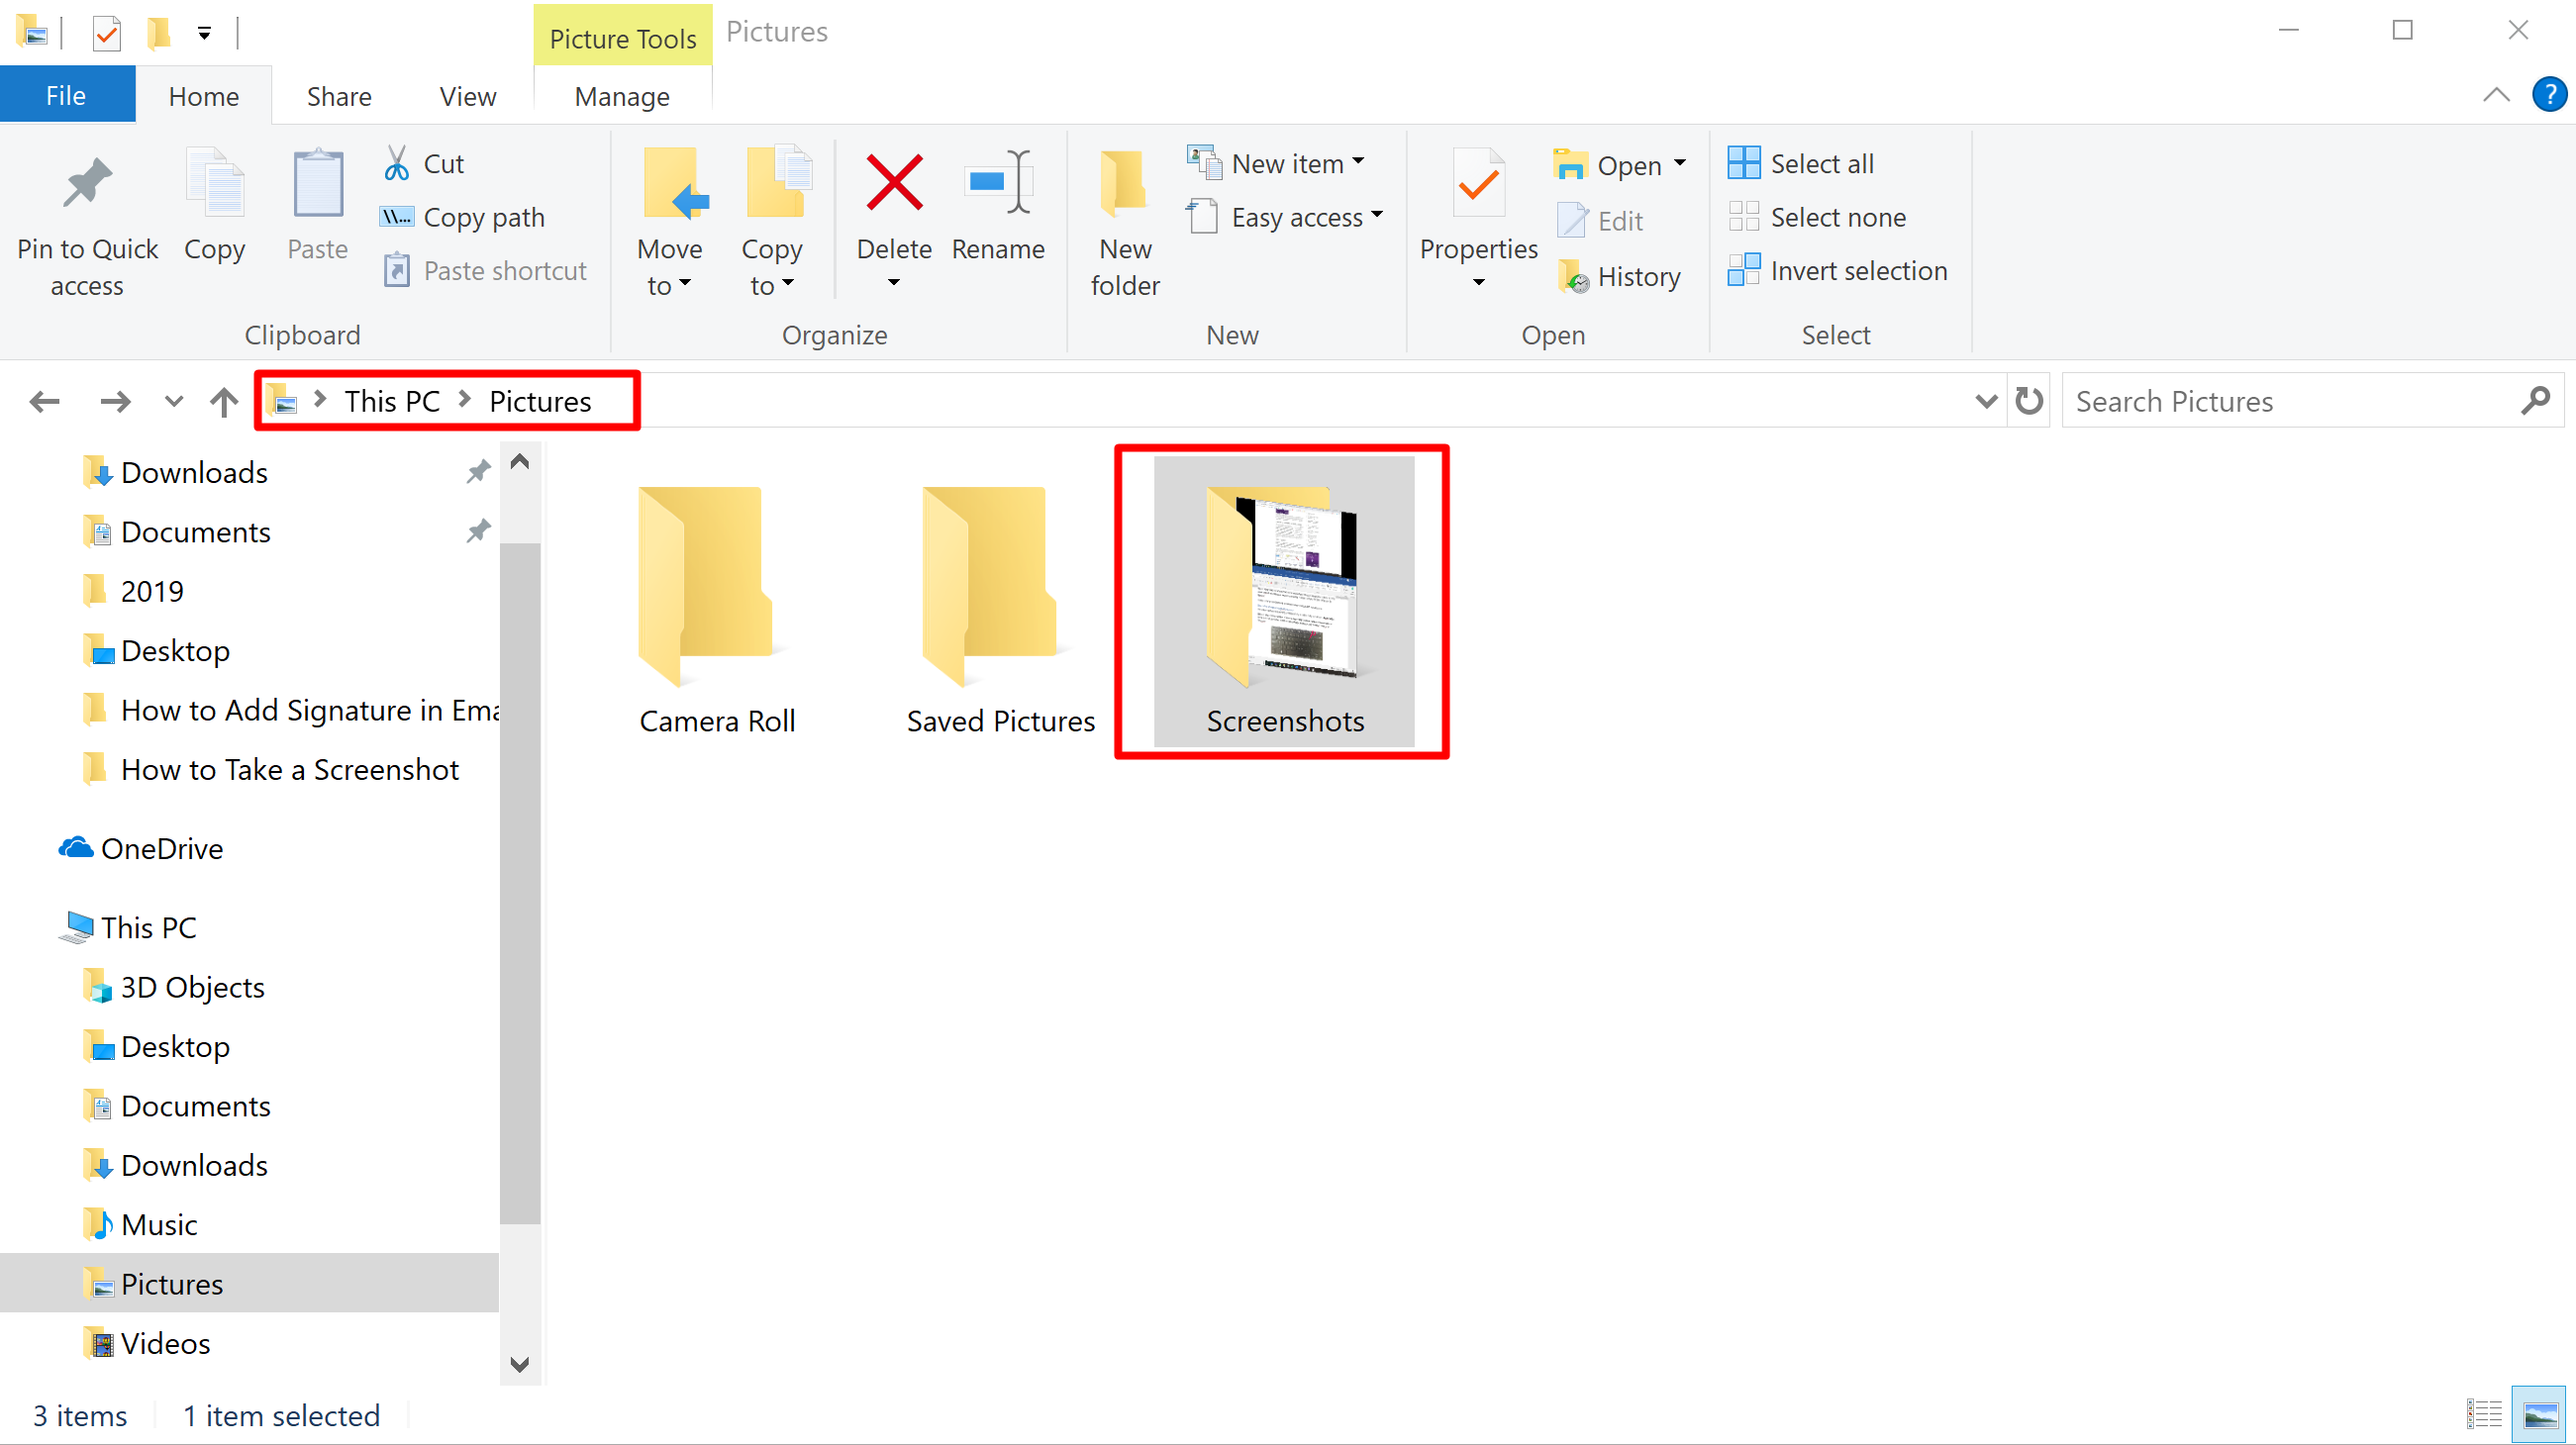
If you decide to take the entire screen and automatically save it as file press WINDOWS BUTTON + PRTSCR and screenshot will be saved in folder Pictures> Screenshots.
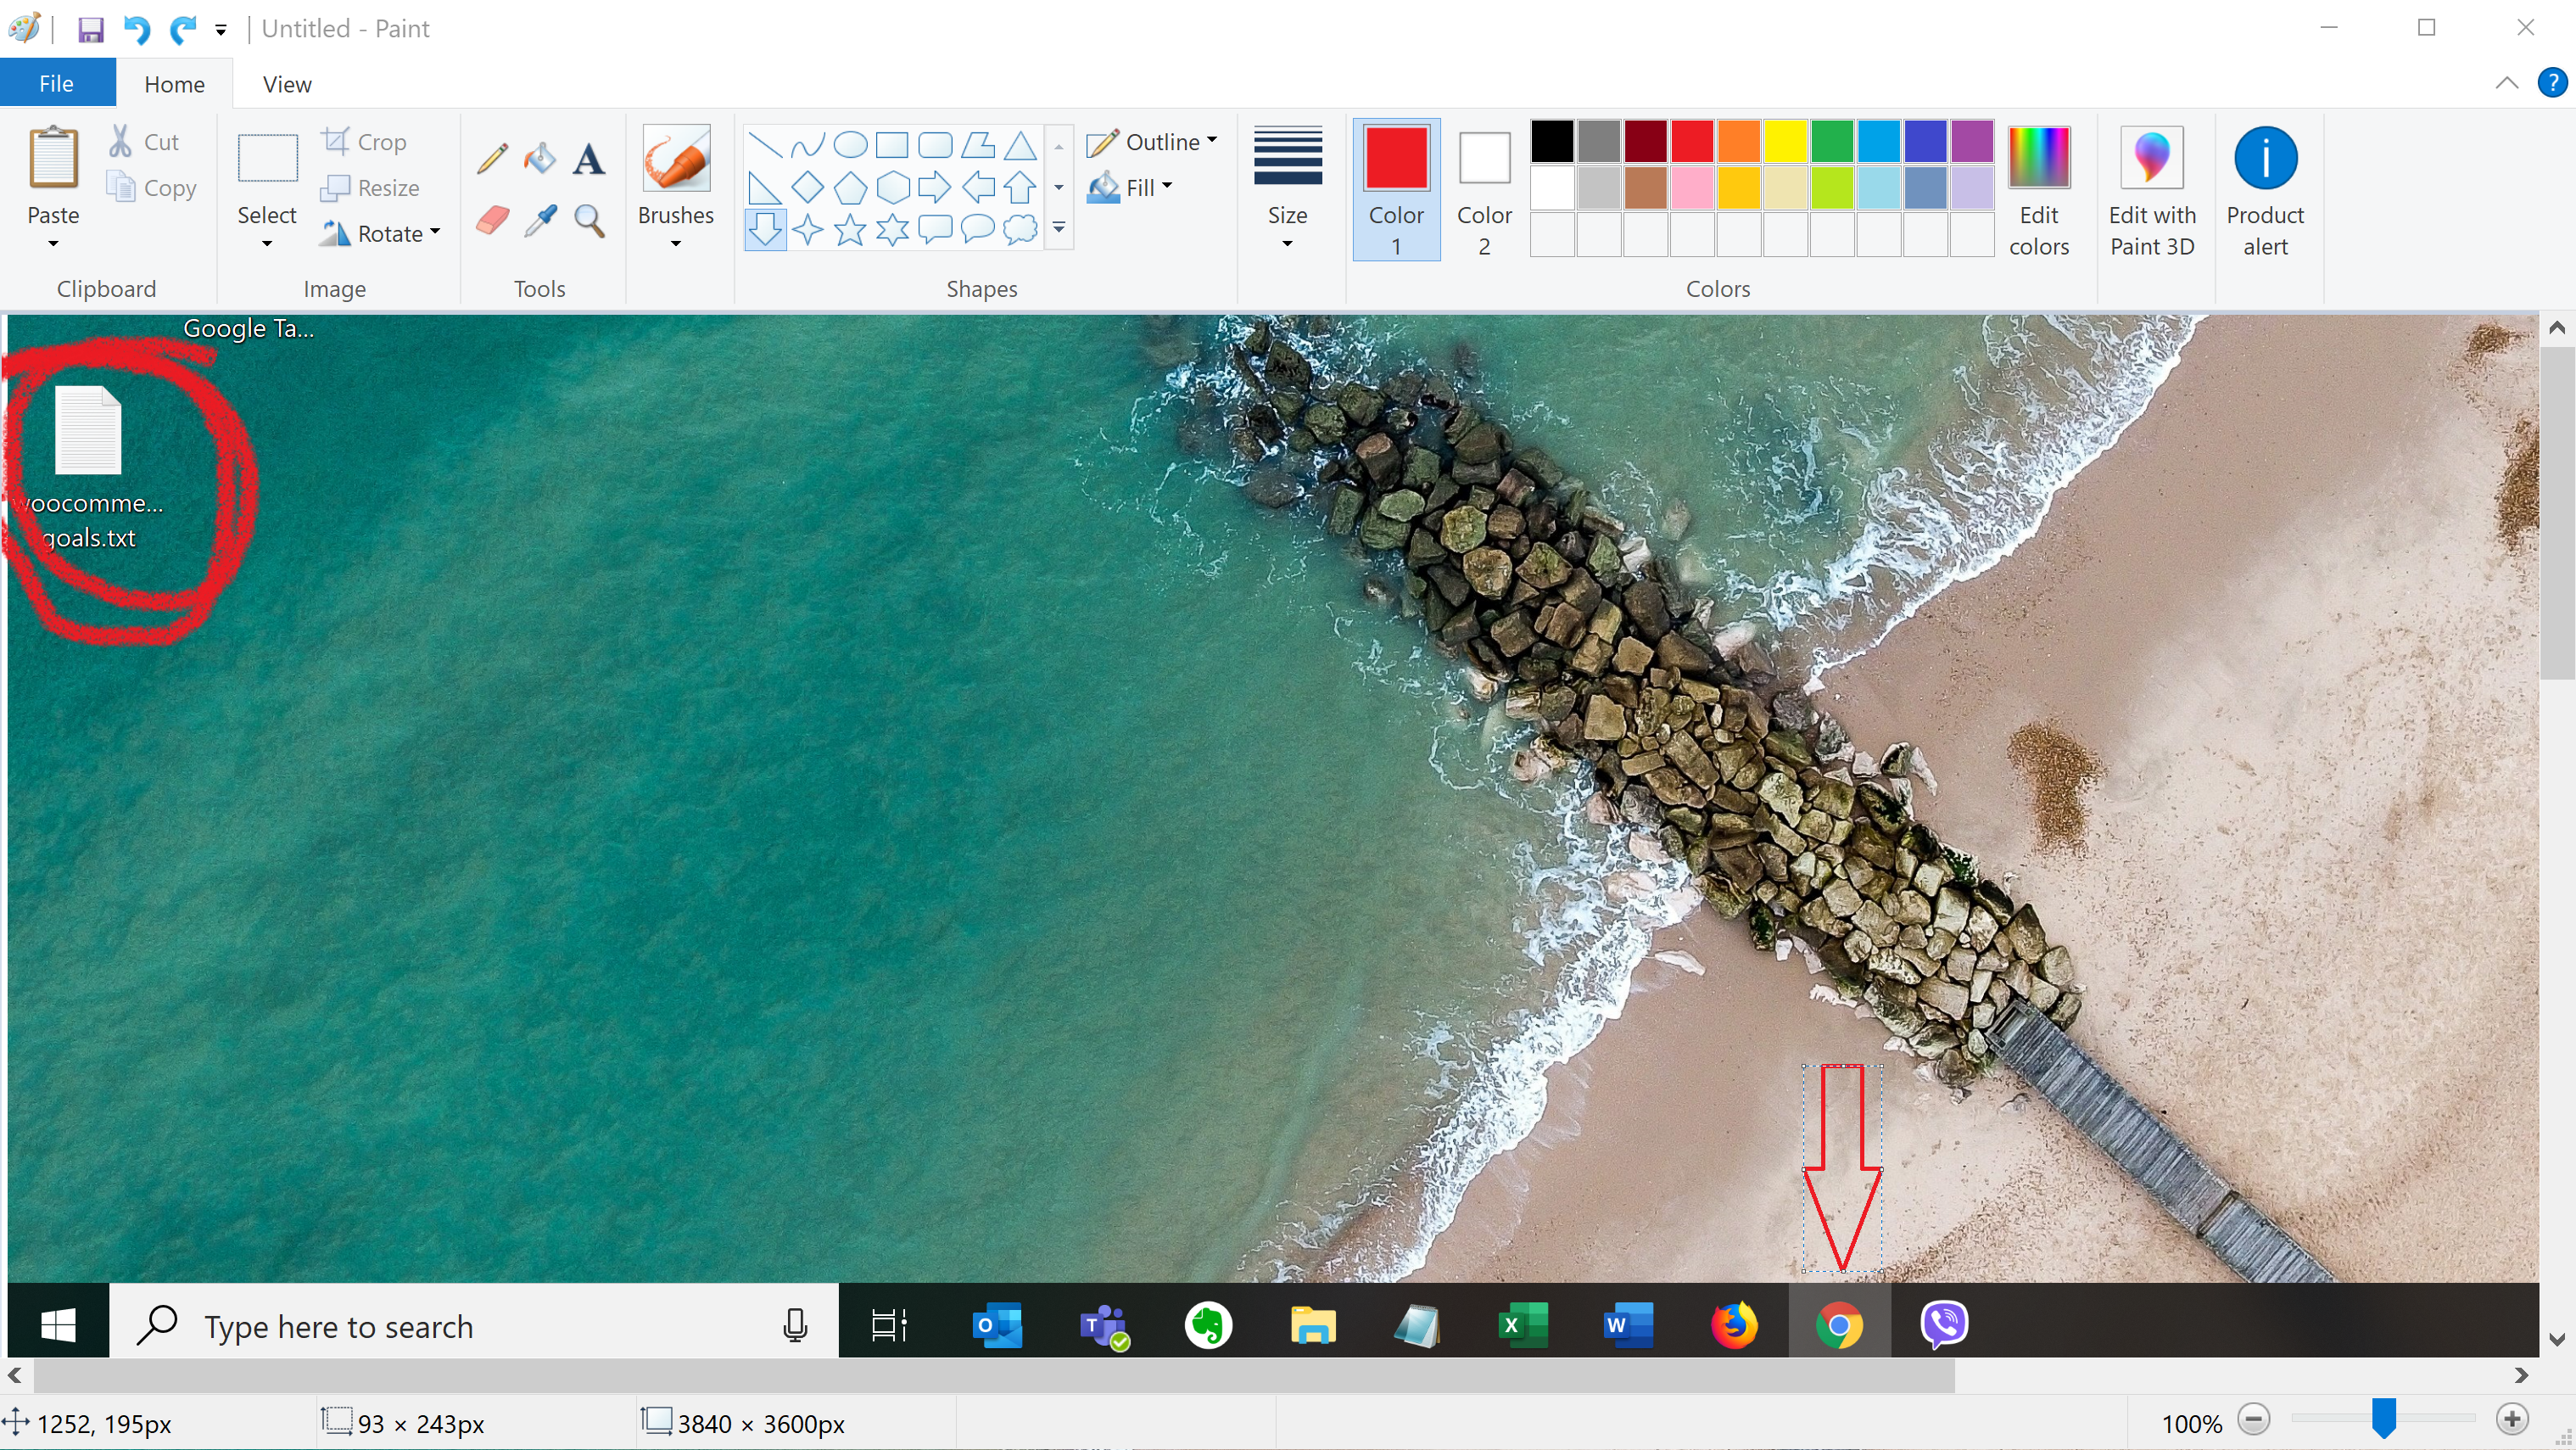
If you want to make changes and modify screenshot press PRTSCR and open photo editor, Windows default is Paint, and press CTRL+V (paste).
After you have made changes in Paint (crop, added text, pointers, etc.) save the file as JPEG, GIF, PNG, or another format you find convenient.
How to Take Screenshot on Windows 10 for Multiple Display Configuration
If you use multiple display configuration (usually monitor and laptop screen) but want to screenshot just one display follow this procedure. Click on the screen you want to capture. Press ALT+PRTSCR on the keyboard. Open photo editor and press CTRL+V (paste).Take Partial (cropped) Screenshot on Windows 10
This doesn’t include third-party apps, but you don’t need to press the PrtScr button as well. Keep in mind that this method only works in Windows 10, and those updated with Creators Update. Press WINDOWS+SHIFT+S. The screen will become grayed out, and the cursor will turn to a white cross. Press left click and drag to select a portion of the screen you want to shot. You’ll see a red rectangle as you move the cursor. Once you release the mouse, the selected part of a screen will be copied to clipboard. Open photo editor and paste screenshot using CTRL+V command.Taking Screenshots Using Snipping Tool
Snipping tool is a handy little helper for taking full-screen, free-form and partial rectangular screenshots in Windows 10, depending on chosen Mode.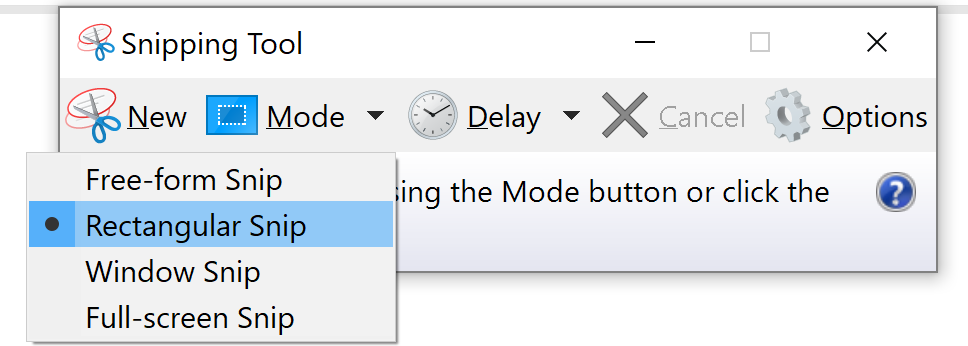
Microsoft included this app in Windows since Vista version, and since then it went only through slight modifications. One modification worth mentioning is the Delay option, which is convenient for taking screenshots that call out for mouse movement.
How to Use Snipping Tool to Capture Screen?
Choose Mode; free-form, rectangular, window, or full-screen.
Next step is optional and use it only if you need to screenshot popup menus, dropdowns or other mouse movement sensitive shots. Set delay time (from 0 to 5 second) and use the delay to prepare for snipping. When delay time passes, the screen will turn gray, and you can take a screenshot.
If you don’t need delay time, choose MODE, and click NEW.
The screenshots are saved in the Snipping tool automatically. From there you can save snip, sent it by email, modify in Paint 3D app, or make annotations with pencil and other in-app tools.
On this link you’ll find more tips on how to screenshot on PC using Snipping Tool.
Windows 10 Screenshot with Snip and Sketch
Improved version of the Snipping tool, although a totally new app from Microsoft is Snip and Sketch. It came out with Windows 10 October Update but still hasn’t totally replaced the old app. So far, the app has been updated four times.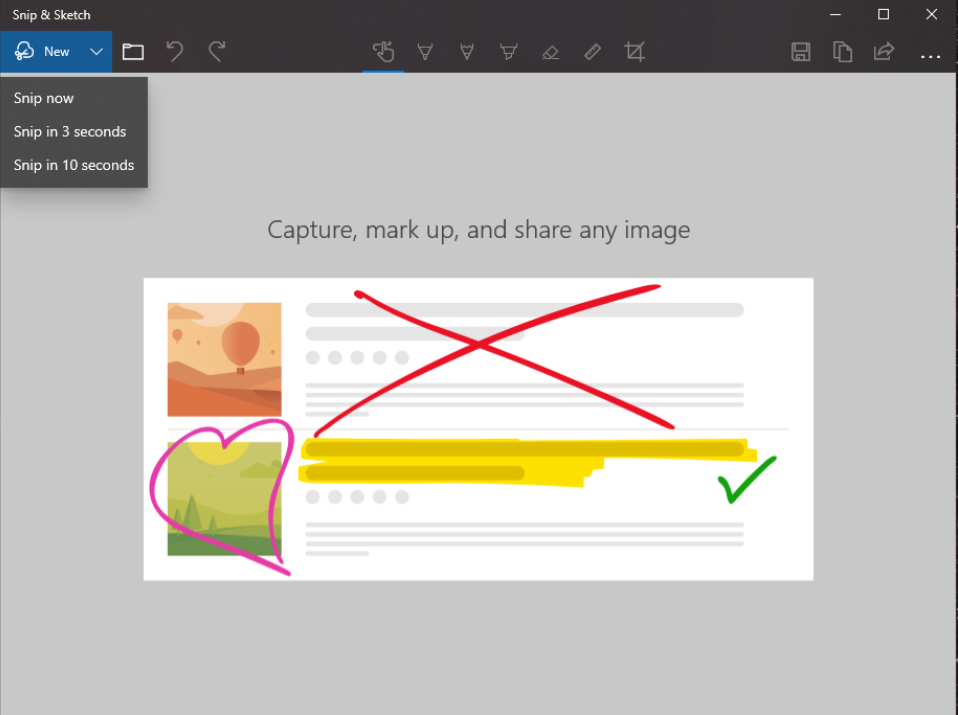
You can install it from Microsoft store for free and try out. It’s relatively simple to use and very intuitive.
Click NEW on the left-hand corner.
Select the type of snip; full screen, rectangular, or free form.
Take a screenshot. It will automatically be added to Snip & Sketch. App offers similar solutions as Snipping tool so you can make annotation or share snip by email.
Take Screenshot in Windows Edge
Latest Microsoft Internet browser, Edge, has built-in annotation tool that allows users to take and modify screenshots from any webpage. As you see, this solution works only within the browser, but not other sections in Windows. While on the page (website) you want to screenshot press PEN ICON in the right side. The new bar on the top of the window will pop up, see image below.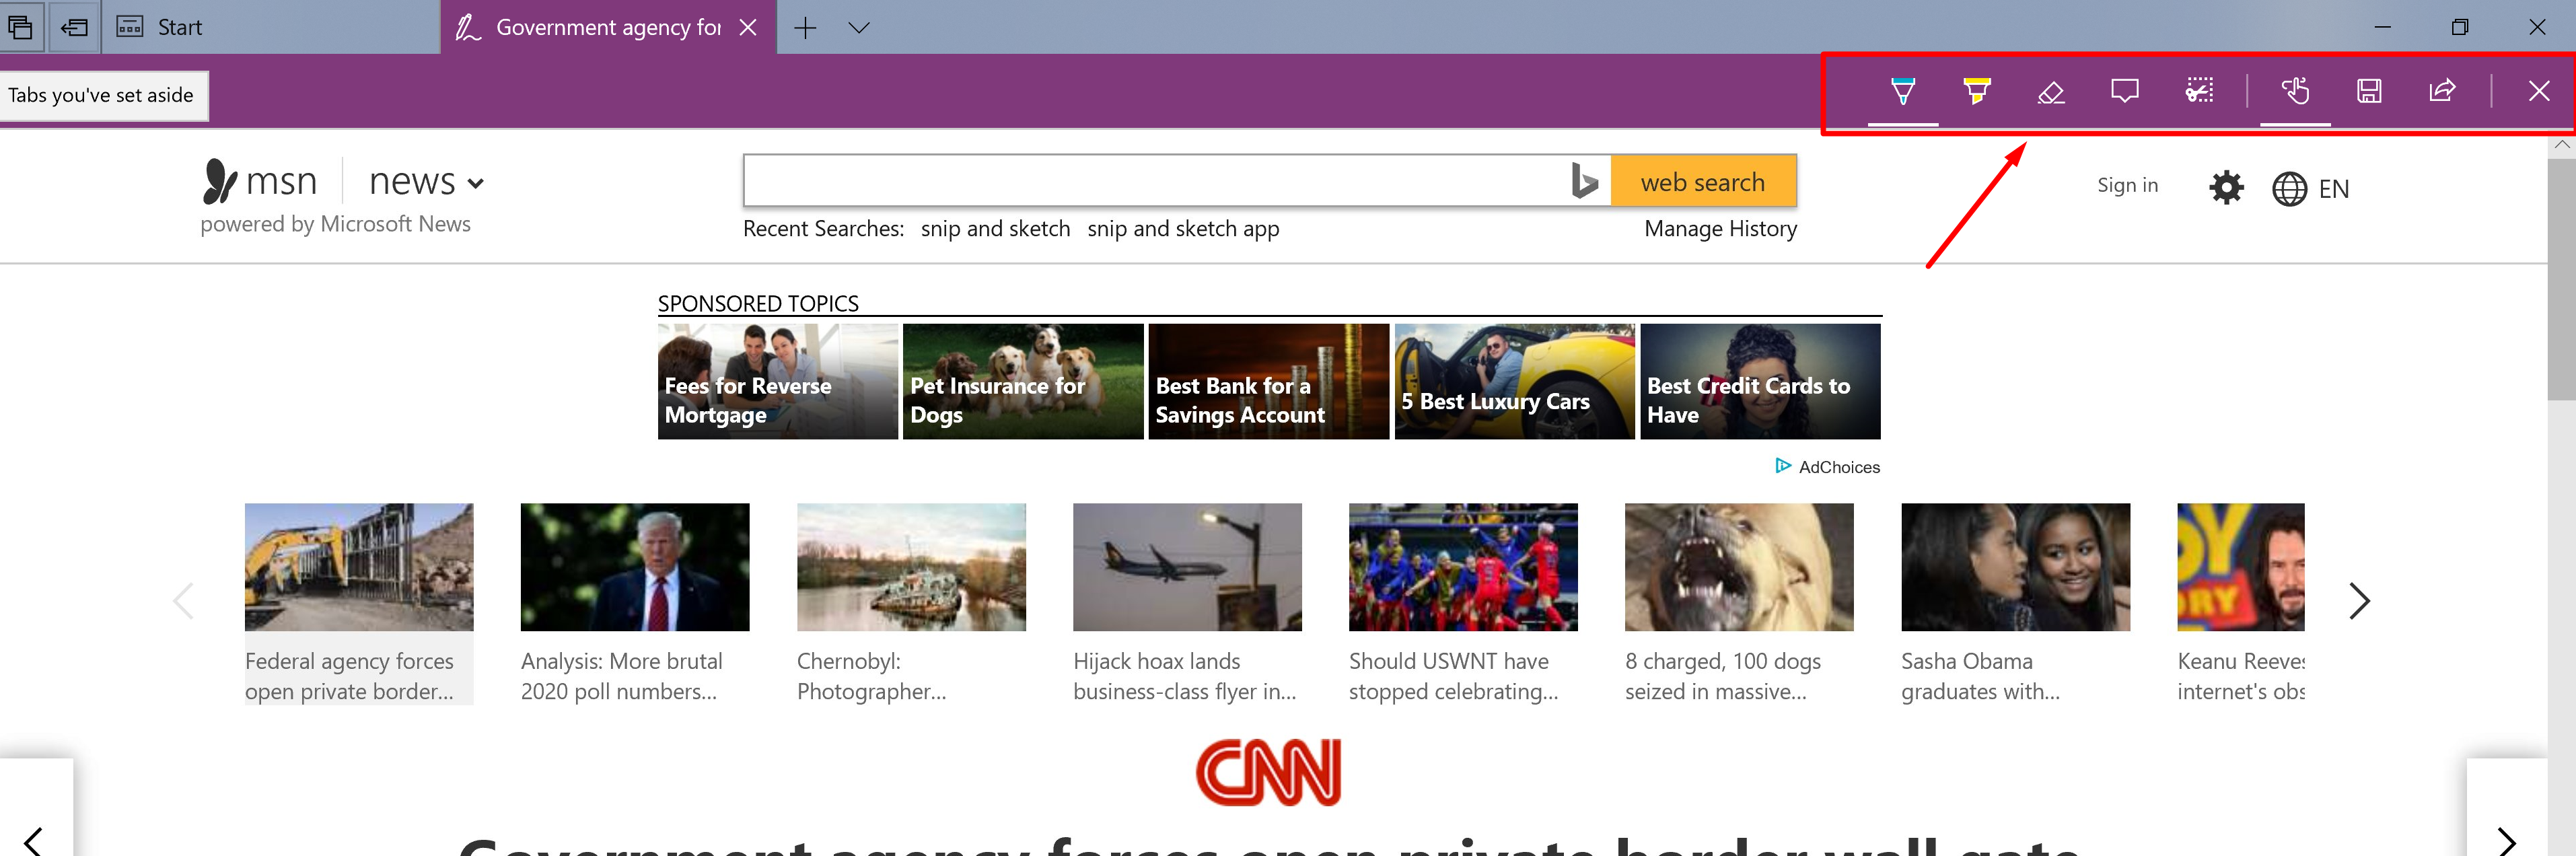
From here you can easily crop and save sections of the web page, make annotation, share and email and finally save by clicking Floppy drive icon.
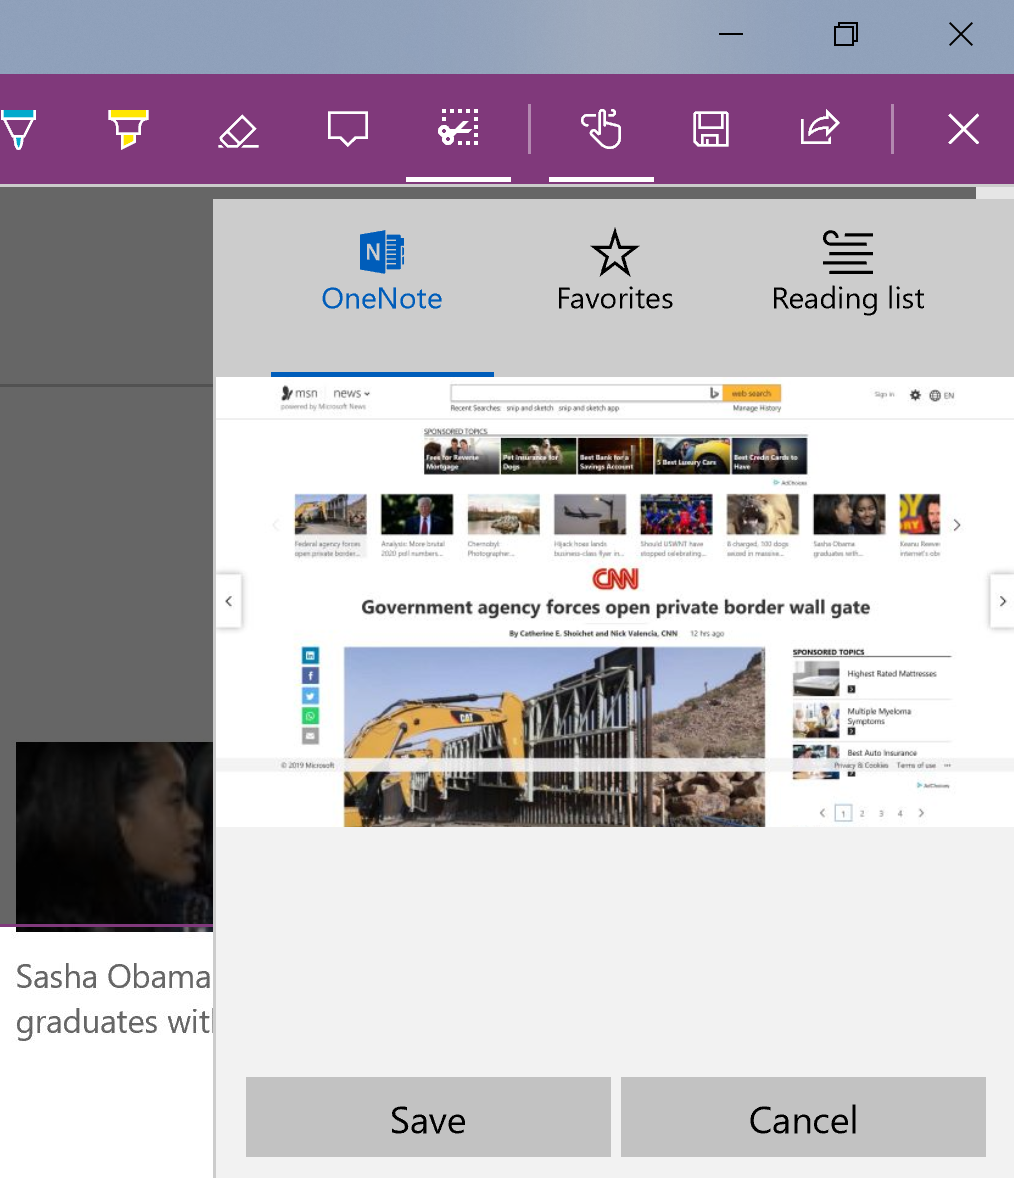
Screenshot taken in Microsoft Edge is saved in OneNote, Favorites or Reading list, depending on your preference.